Wrought Iron Fence Installation: How Posts Get Set and Gates Get Hung Right
A wrought iron fence lives or dies at two points: the posts and the gate. If the posts shift, the whole run leans. If the gate hangs wrong, it drags, sags, and stops latching within a year. That is why wrought iron fence installation in Ocala is less about the panels, which arrive ready to mount, and more about what happens below the ground and at the hinges. Understanding the fence post installation process helps homeowners and property managers make informed decisions about repairs, replacements, or fresh installs.
This matters more here than in most places. Ocala's sandy soil does not grip a post the way clay does. Heavy summer rain softens the ground, and a post set too shallow or with too little concrete will move. If a storm just knocked over a fence section in your yard, or you are fencing a new-build lot for the first time, understanding this process helps you judge whether a repair, a replacement, or a fresh install was done right.
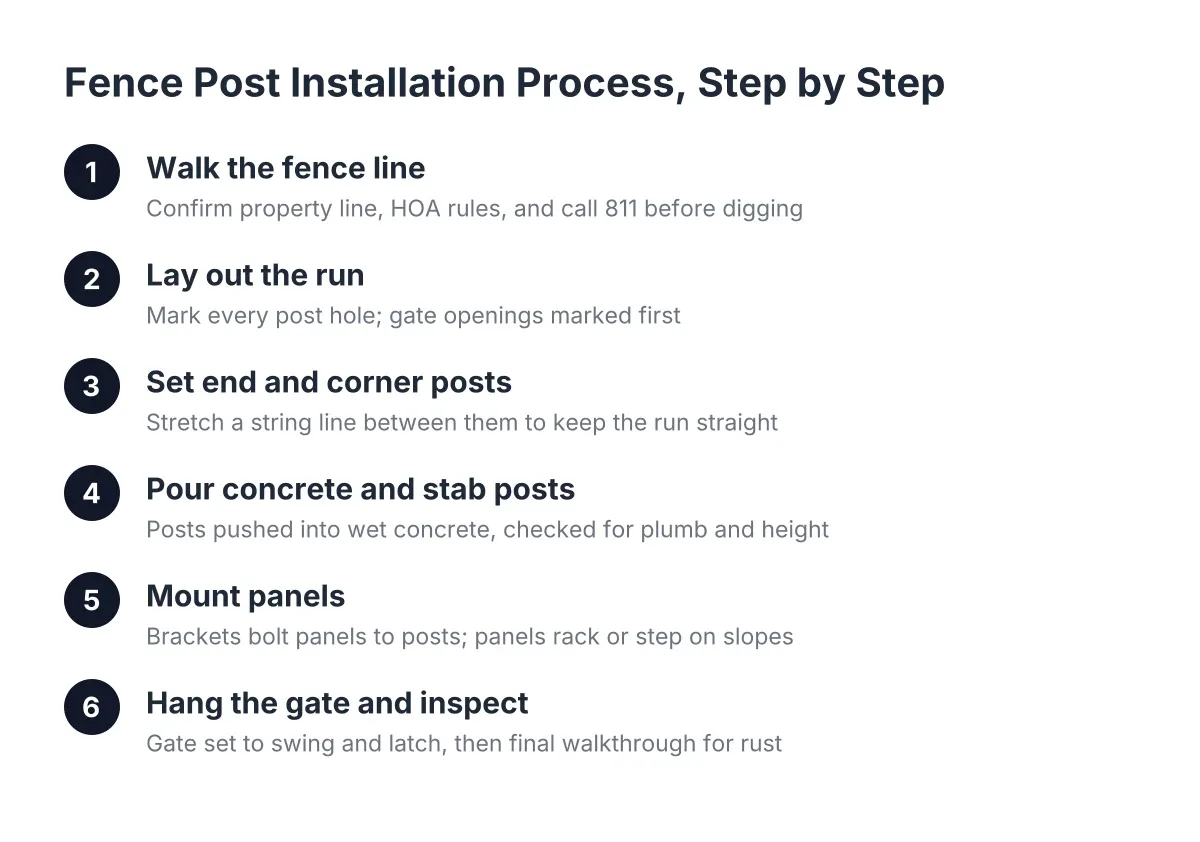
Here is the process, step by step, the way a crew actually works through it.
Step 1: Walk the Fence Line and Confirm the Property Line
Before anyone digs, confirm where the fence can legally go. Iron posts set in concrete are not easy to move later, so a mistake at this step is expensive to fix.
Pull your survey or plat map and find the property pins. On a new-build lot, the builder usually left the pins in place, so locate them before landscaping buries them. If you live in a planned community, check your HOA rules on fence height, style, and setbacks before buying material. Fencing problems show up often; according to Forbes, fencing is a factor in 23% of HOA violation notices.
In addition, call 811 to have utilities marked. Gas, water, and buried electric lines run through plenty of Ocala yards, and post holes for iron go deeper than most homeowners expect. The City of Ocala or Marion County may also require a permit depending on your address, so verify that before digging.
Step 2: Lay Out the Run and Mark Every Post Hole
Panel-style iron fencing comes in fixed widths, so the layout has to work out mathematically before the first hole is dug. Measure the full run, then divide by the panel width to see how many full panels fit and where a cut section lands.
A good crew places any cut or shortened section in the least visible spot, such as the back corner behind the shed, and keeps full panels along the street side and driveway. This is a small decision that makes a big visual difference on a perimeter fence.
Mark each post location with paint or a stake. Gate openings get marked first, because gate hardware and the gate itself have fixed dimensions. The rest of the layout works outward from the gates, not toward them.
Step 3: Set the End and Corner Posts First
Experienced installers never dig all the holes and set posts one after another down the line. Instead, they set the posts at both ends of a run first, let them stand plumb, and stretch a string line tight between them. Every post in between gets set to that string.
This is the single step that separates a straight fence from a wavy one. Without the string line, each small error compounds. By post ten, the fence wanders visibly off line, and iron panels will not flex to hide it the way a chain link fence can.
For each hole, the crew digs below the loose surface sand to reach firmer soil. Ocala's sandy, shifting ground is the main local cost factor and failure point for metal fence posts. The fence post installation process demands deep holes with adequate concrete in Ocala to prevent the shallow holes and token concrete that mark a bad install and fail within a season or two when summer rain exposes them.
Step 4: Pour Concrete and Stab the Posts
With the holes dug, concrete goes in wet and the posts are pushed directly down into it. In the trade this is called stabbing the post. It bonds the concrete around the full buried length of the post instead of leaving a gap that water can work into.
Each post gets checked two ways before the crew moves on:
- Plumb on two faces with a level, so the post stands straight front-to-back and side-to-side
- Height against the string line, so the tops run consistent along the grade
For gate posts and tricky spots, such as a post butting against a neighbor's existing fence or squeezed near a tree, crews often reinforce the post or upsize the concrete footing. Gate posts carry live swinging weight every day, so they always get the deepest, widest footings in the run.
Then the concrete needs time to cure. Hanging panels or a heavy iron gate on green concrete is how posts end up leaning before the job is even finished. On a hot Ocala afternoon the surface sets fast, but the footing below needs longer to hold real load.
Understanding Fence Post Installation Process and Panel Mounting
Once the posts are solid, the panels go up. Most modern wrought iron fence panels mount with brackets that bolt to the posts, which lets the panel sit level even when the ground is not. On a sloped section, panels either rack, meaning they angle to follow the grade, or step down in level increments. Racking usually looks cleaner on gradual Ocala slopes; stepping suits sharp grade changes.
The crew works from the most visible side of the yard outward, keeping panel tops aligned to the string line rather than to the dirt. Grade dips and rises; the fence top should not. Gaps under the panels on uneven ground get addressed here too, which matters if the fence is meant to keep a dog in.
This mounting method is also why iron holds up well in storms compared to wood. A wood fence takes wind like a sail across solid panels. An open iron picket design lets wind pass through, so a storm that flattens a wood fence often leaves a properly set iron fence standing. For a homeowner who just dragged broken wood fence panels out of the yard after a July storm, that difference is worth weighing before replacing like with like. Metal fencing is not a niche choice either; according to Mordor Intelligence, metal products hold a 47.2% share of the fencing market in 2025.
Step 6: Hang the Gate So It Swings and Latches for Years
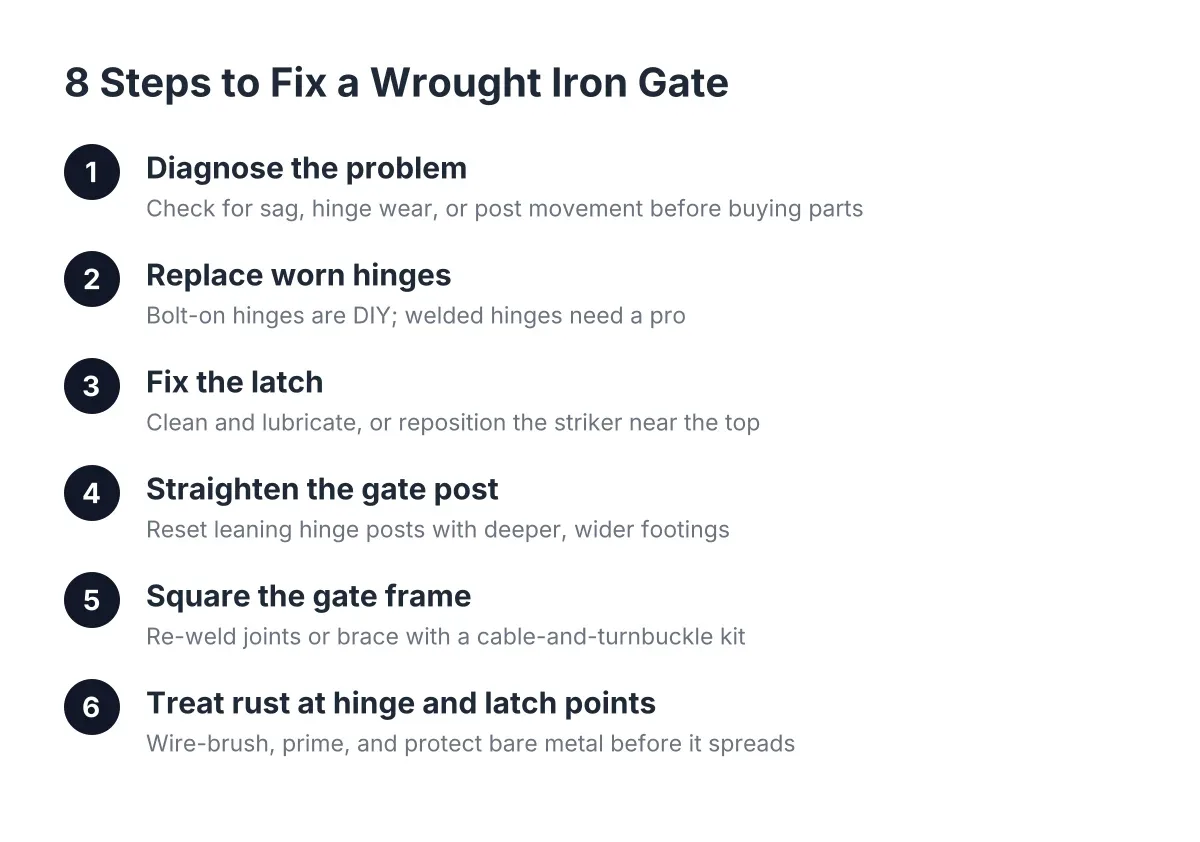
The gate is where most fence problems show up first, and where installer skill shows most. Two habits make the difference.
First, the crew sets the latch striker on the post before hanging the gate. The striker gives a fixed target, so the gate self-aligns to its final latched position during hanging instead of being eyeballed in mid-air.
Second, the hinges get mounted to the gate and held temporarily in position, with the gate shimmed to its finished height and gaps. Only once the swing is checked, open, closed, and latched, does the hardware get tightened down for good. Hinge tension is then adjusted so the gate neither slams nor drifts.
Suppose a homeowner on a half-acre lot in southwest Ocala is fencing a new-build perimeter with a double drive gate for trailer access. In that scenario, the drive gate posts would get the heaviest footings on the whole job, and a drop rod would anchor the stationary leaf into a ground sleeve. Skipping that sleeve is why double gates rattle and rack within a year.
Step 7: Walk the Finished Fence and Plan for Rust
A final walkthrough should check every panel bracket, every post for plumb, and the gate latch through ten or more full swings. Touch-up paint goes on any scratch in the factory coating the same day, because bare iron in Ocala humidity starts corroding fast.
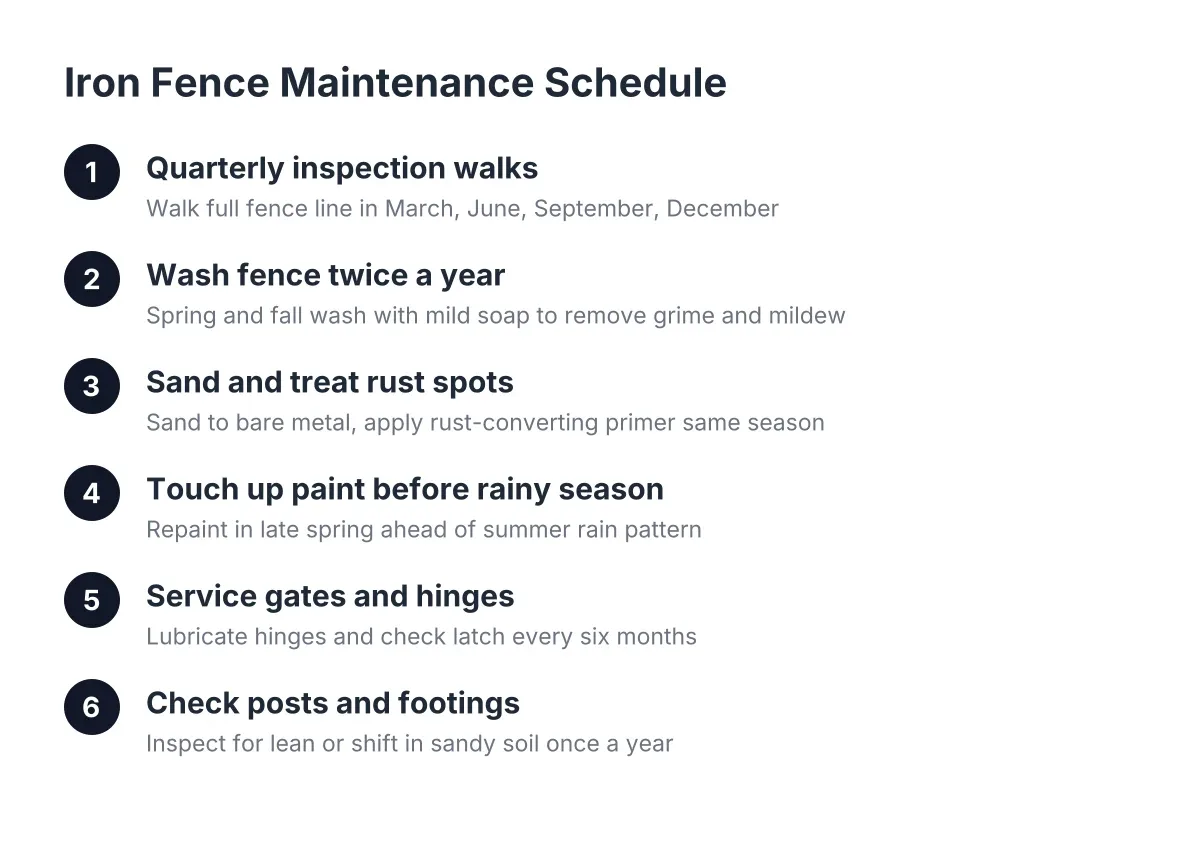
One honest trade-off: iron asks more maintenance than aluminum or vinyl. In this climate, plan on inspecting the coating yearly and touching up chips before rust spreads. If corrosion is a dealbreaker, an aluminum fence gives a similar look with less upkeep.
Factors Affecting Fence Post Installation Cost in Ocala
The cost of wrought iron fence installation comes down to a handful of factors, not a flat per-foot number. Expect these to drive the estimate:
- Linear footage and panel height, since taller panels need deeper posts and more concrete
- Number of gates, because gate posts, hardware, and hanging labor cost more per foot than straight runs
- Custom designs versus standard pre-made panels
- Soil and access conditions, including sandy fill that forces deeper footings
- Slope, which adds racking or stepping labor
- Permit and HOA approval requirements for your address
Gates deserve a specific callout. A single walk gate adds modest cost; a wide double drive gate with heavy posts and a drop rod is one of the larger line items on a residential iron job. When comparing estimates from any fence company, confirm each bid includes the same gate count and footing depth, or the numbers will not compare fairly.
When to Call a Pro Instead of Doing It Yourself
A handy homeowner can install light pre-made iron panels on a flat, short run. However, long perimeter runs, sloped ground, drive gates, and storm-damaged replacements where old concrete footings must come out are jobs worth handing to a crew. Pulling a broken post set in a concrete footing without wrecking the adjacent panels is harder than it looks.
If a storm leaned your fence rather than flattening it, have someone assess the footings before assuming full replacement. Sometimes a leaning iron fence just needs posts reset; sometimes the footings cracked and the run needs rebuilding. An honest assessment of which one you are dealing with is the fastest path to a secure yard and the smartest spend.
If you need fence installation, Ocala Fence Builders can help.
Prefer to talk it through? Call (352) 670-3374 — a quick call is usually the fastest way to get a straight answer for your situation.