Chain Link Fence Repair: Patching Holes, Replacing Rails, and Fixing Rust
A bent rail, a hole in the mesh, or a rusted-out section does not mean your whole fence is done. Most chain link fence repair comes down to three jobs: patching damaged fabric, replacing a top rail, or cutting out rust before it spreads. Each one is a contained fix with its own steps. This guide walks through all three in order, so you can size up the damage in your Ocala backyard or around your commercial lot and know what a real repair involves, whether you do it yourself or hire a fence company to handle it.
One note before the steps. Chain link is forgiving. The fabric is woven, not welded, so you can unweave a damaged strand, splice in new mesh, and tension it back without touching the rest of the fence. That is why repair is usually worth considering before replacement.
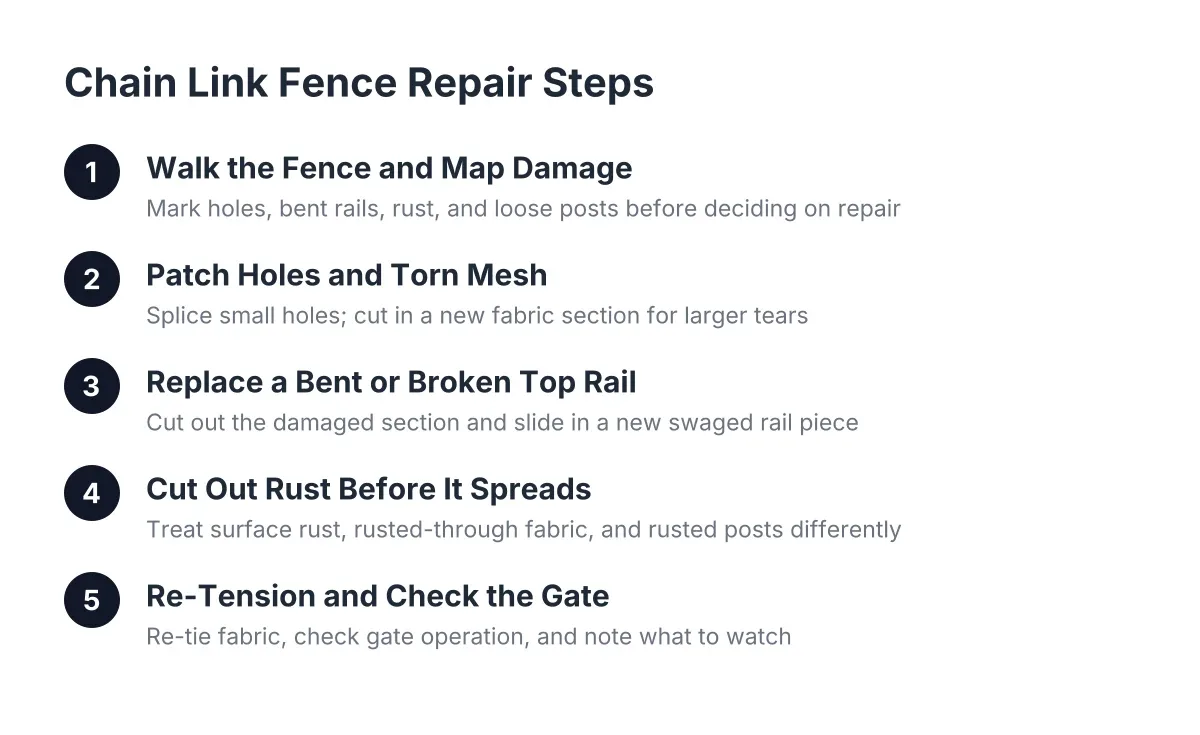
Step 1: Walk the Fence and Map the Damage
Start at a corner post and walk the full run. Do not fix the first problem you see. Chain link damage travels; a car that clipped one section often bent the rail two posts down, and rust at one spot usually means rust at ground level elsewhere.
Mark every issue with spray paint or flagging tape as you go. Look for:
- Holes, tears, or cut strands in the mesh fabric
- Bent, cracked, or separated top rails
- Rust on the fabric, rails, posts, or fittings, especially where mesh meets soil
- Loose or missing fence ties, tension bands, or rail ends
- Leaning posts or loose concrete footings
- A fence gate that drags, sags, or no longer latches
This map decides everything else. A few holes and a bent rail is a half-day repair. However, if more than a third of the fence shows rust-through or the posts are failing at the footings, you are looking at replacement, not repair. Posts are the skeleton; fabric and rails are the skin. Skin is cheap to fix. A failed skeleton is not.
For a commercial property, this walk matters twice as much. A hole in a self-storage perimeter or an auto lot fence is a security gap and a liability question, not a cosmetic issue. Map it, photograph it, and date the photos before any repair starts.
Step 2: Patch Holes and Torn Mesh
Small holes get spliced; large damage gets a full fabric section. The dividing line is simple. If the damage spans more than a couple of feet of mesh, cutting in a new piece from a repair roll gives a cleaner, stronger result than trying to weave scattered strands back together.
How to Splice and Repair Damaged Chain Link Fence Mesh
Chain link fabric is a series of interlocked wire spirals. To remove a damaged strand, snip it at the top and bottom, then spin it counterclockwise like a corkscrew. It unweaves itself out of the mesh. Next, take a new strand from a chain link fence repair kit or a matching roll and weave it in clockwise where the old one came out. Twist the ends closed at top and bottom.
Match the wire gauge and coating. Galvanized patch wire on galvanized fabric, vinyl-coated on vinyl-coated. A mismatched patch rusts faster at the splice and stands out visually.
Replacing a Larger Section of Fabric
For a torn panel, unweave one full strand on each side of the damage. The damaged section now lifts out as a clean rectangle. Cut a replacement piece from a repair roll one diamond wider than the gap, set it in place, and weave a strand down each side to tie old and new fabric together.
Then re-tension. Loose fabric sags, rattles, and invites climbing. Reattach the mesh to the framework with fence ties, and note that ties come in different lengths matched to the pipe diameter; a tie sized for a thin top rail will not close around a heavier terminal post. If you can, stand on the side of the post opposite the mesh while tying; it gives you better leverage, though tight property lines in older Ocala neighborhoods do not always allow it.
Step 3: Replace a Bent or Broken Top Rail
The top rail carries the fabric's tension across the span. A bent rail lets the mesh sag, and sag accelerates every other failure. Replacing one is straightforward because top rails are swaged; one end of each section is narrowed to slide into the next.
First, cut the fence ties holding the fabric to the damaged rail. Then cut the bent section out with a pipe cutter or reciprocating saw, a foot or so past the damage on each side. Slide the new rail section in, joining it to the existing rail ends.
If the new piece will not reach into a swaged joint, use a scab repair instead. Overlap a short rail segment across the two existing cut ends and fasten it with brackets or rail sleeves. This ties the old and new sections together structurally without disassembling the run. Finish by re-tying the fabric to the new rail with fresh ties every foot or so.
If the rail bent because a post shifted, fix the post first. Ocala's sandy soil lets footings work loose over wet seasons, and a new rail on a leaning post will bend again. That is a post-setting problem, and it is the point where many homeowners bring in a pro, since resetting posts in shifting soil is where DIY chain link fence repair most often goes wrong.
Step 4: Cut Out Rust Before It Spreads
Rust on chain link follows a pattern in Florida. It starts where the galvanized coating is thinnest or damaged: cut ends, ground contact, sprinkler spray zones, and anywhere a tie or bracket scratched the finish. Humidity and seasonal rain do the rest.
Treat rust in three tiers:
- Surface rust: Wire-brush it off, wipe the area clean, and coat it with a cold galvanizing spray or rust-inhibiting metal paint. Done early, this stops the problem for years.
- Rusted-through fabric: Paint will not save mesh you can snap by hand. Cut out the rusted section and splice in new fabric exactly as in Step 2.
- Rusted posts or rails: Probe with a screwdriver. If the steel flakes or punches through, that component needs replacement, not treatment.
Pay attention to the bottom of the fence. Mesh buried in soil or mulch rusts from the ground up and hides it. Pull vegetation and soil back from the fabric line while you are at it; it is free prevention.
There is a reason this matters for commercial sites. According to Mordor Intelligence, metal products including steel and aluminum held a 47.2% share of the fencing market in 2025, largely because they remain the default for high-security and industrial perimeters. That security value only holds if the steel is sound. A rusted-through section fails exactly when you need it.
Step 5: Re-Tension, Check the Gate, and Decide What to Watch
After any repair, pull the fabric tight. Loose mesh along a repaired span telegraphs the fix and wears faster. Check tension bands at the terminal posts and tighten or replace any that have slipped.
Test the fence gate next. Gates fail first on any chain link run because they carry moving load on two posts. If the gate drags, the hinge post has likely shifted in the soil; shimming the hinges is a short-term fix, resetting the post is the real one.
Finally, write down what you repaired and when. For a homeowner, that record helps at resale. For a property manager, it supports insurance documentation and builds the case for a repair contract versus a capital replacement.
When Chain Link Fence Repair Beats Replacement
Repair wins when the posts are plumb, the footings are solid, and the damage is limited to fabric, rails, or fittings. Replacement wins when posts are failing, rust-through covers large areas, or the fence no longer meets your needs for height or security. A useful rough test: if a repair estimate approaches half the cost of new chain link fence installation for that run, get both numbers priced before deciding.
For example, suppose a storage facility in Ocala has a 300-foot perimeter where a vehicle strike bent one rail and tore ten feet of fabric, and the rest of the fence is sound. In that scenario, a typical crew splices new fabric, scabs the rail, and re-tensions the run in a day. Replacing the whole perimeter for that damage would waste most of the budget. However, if that same walk-through had found rusted post bases every few sections, repair money would be better applied toward replacement.
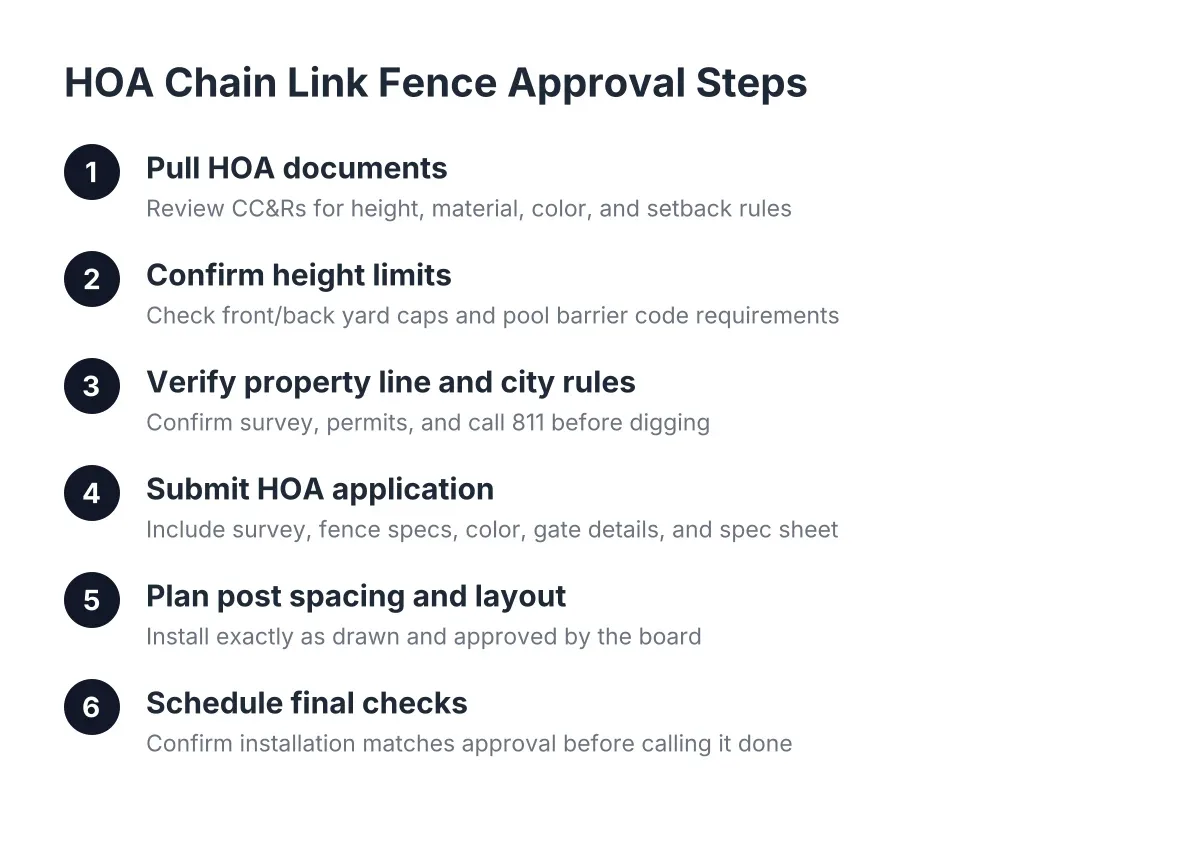
One more check for homeowners: if your fence sits on or near a property line, or your neighborhood has an HOA, confirm the rules before changing anything visible. A Forbes-reported survey found fencing is a factor in 23% of HOA violation notices, so even a repair that changes the fence's look is worth a quick confirmation. Larger structural work can also trigger permit requirements in 2026, which is another point where a local fence company earns its fee.
What Each Repair Usually Requires
Cost on these jobs is driven by a short list of factors, not a flat rate:
- Extent of damage: One spliced hole versus a full fabric section versus multiple spans.
- Materials: Matching gauge, coating, and height; vinyl-coated fabric and heavier commercial gauges cost more than standard galvanized.
- Post condition: Any repair that touches footings adds digging, concrete, and cure time, and Ocala's sandy soil often means deeper setting than the original install used.
- Access: Fences butted against buildings, trees, or a neighbor's fence slow the work.
- Gates: Gate hardware and post resets price differently than straight-run fabric work.
If you want to go deeper on the construction side, look for a chain link fence detail drawing, the standard diagram showing how terminal posts, line posts, rails, tension bars, and bands fit together. Reading one before you start a repair makes every step above easier to picture, because you will know which part carries load and which part is just attachment hardware.
The short version: patch the skin, replace the bones only when you must, and stop rust the day you see it. Handle those three things and a chain link fence in Ocala's heat and rain keeps doing its job for a long time.
If you need chain link fence repair, Ocala Fence Builders can help.
Prefer to talk it through? Call (352) 670-3374 — a quick call is usually the fastest way to get a straight answer for your situation.