Why Chain Link Fences Sag in Ocala’s Sandy Soil: Post Depth Fixes That Last
Ask anyone who has watched a fence lean after two summers in Marion County, and they will tell you the same thing: the problem started underground. Chain link fence installation in Ocala comes down to how deep the posts go and what holds them there. Our sandy soil shifts, drains fast, and gives posts almost nothing to grip. This guide walks through the steps that keep a chain link fence straight in Ocala conditions, whether you are fencing a new-build lot before move-in or putting a barrier around a pool before inspection.
The steps below follow the order a working crew would use. If you are comparing a DIY weekend project against hiring a fence company, this will also show you where the labor and judgment actually live.
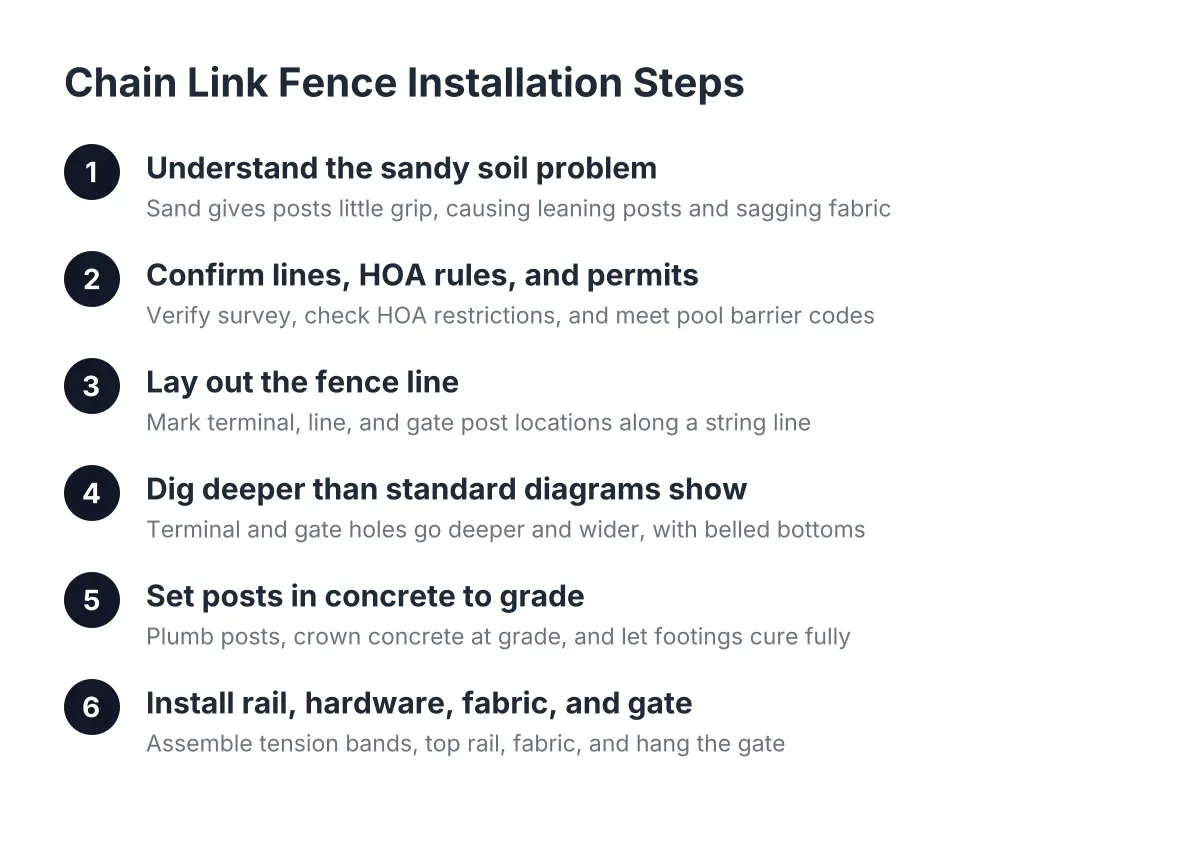
Step 1: Why Sandy Soil Makes Chain Link Fence Installation Sag
Before you dig anything, know what you are fighting. Ocala sits on sandy, fast-draining soil. Sand does not compact and hold a post the way clay does. It flows back around a footing, then washes or settles away during heavy summer rain.
As a result, three failure patterns show up again and again in local chain link fences:
- Leaning line posts. Shallow footings tip over time because sand gives no lateral resistance.
- Sagging top rail and fabric. Once one post moves, tension in the chain link fabric pulls neighboring posts out of plumb.
- Dropping fence gates. Gate posts carry live swinging weight. In loose soil, an undersized gate footing is usually the first thing to fail.
Therefore, every later step exists to solve one problem: giving each post enough depth and enough concrete to stay put in soil that wants to let it move.
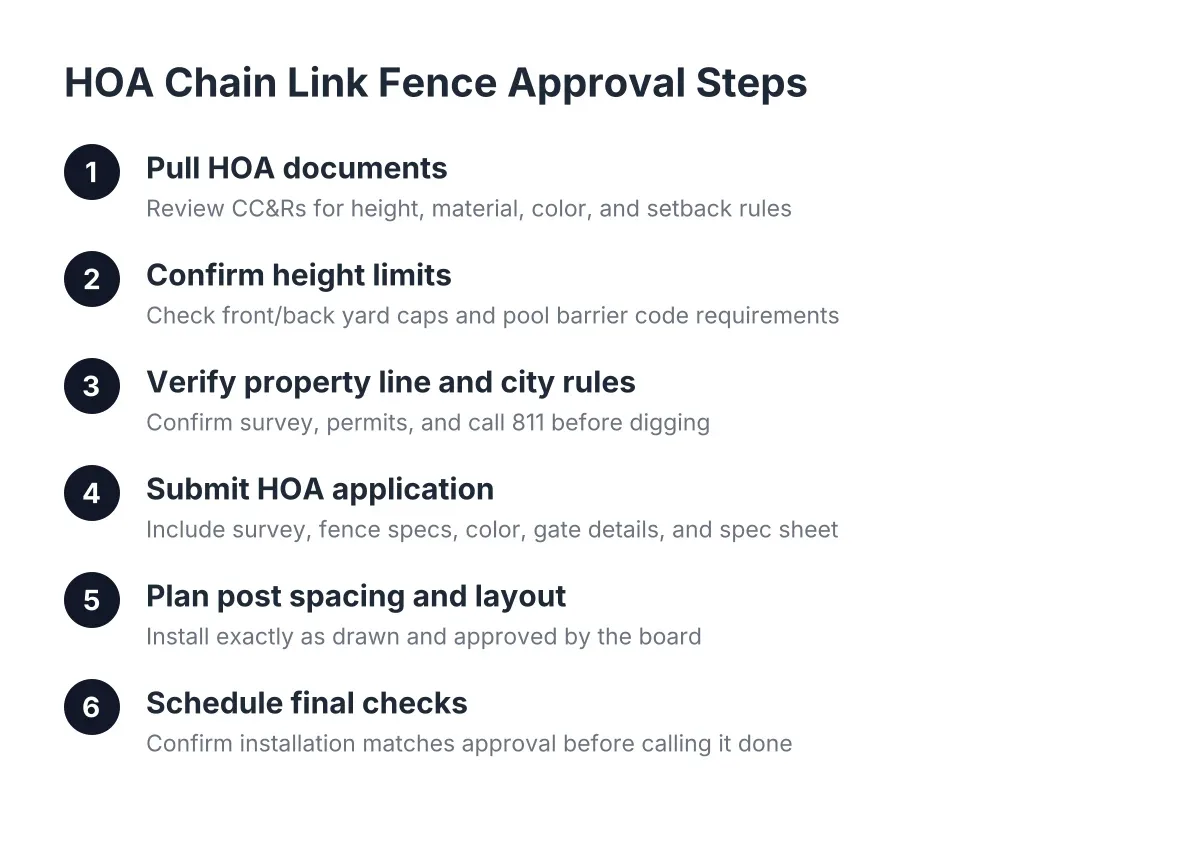
Step 2: Confirm Property Lines, HOA Rules, and Permits
Next, handle paperwork before shovels. Verify your property line against your survey, not against where a neighbor's old fence sits. On a new-build lot, the corner pins are often still findable; locate them before you set a single string.
Check HOA rules too. Fencing is a factor in 23% of HOA violation notices according to Forbes, tied as the second most common issue behind landscaping. Many Ocala planned communities restrict chain link on street-facing sides or require specific heights and colors, so get written approval first.
In addition, if the fence will serve as a pool barrier, it must meet Florida pool barrier requirements: minimum height, limited gaps, and a self-closing, self-latching fence gate that opens away from the pool. A four-sided isolation fence that separates the pool from the house and yard reduces a child's drowning risk by 83% compared to three-sided property-line fencing, according to the Centers for Disease Control and Prevention. Pull the permit if your county requires one; a failed pool inspection costs more than doing it right once.
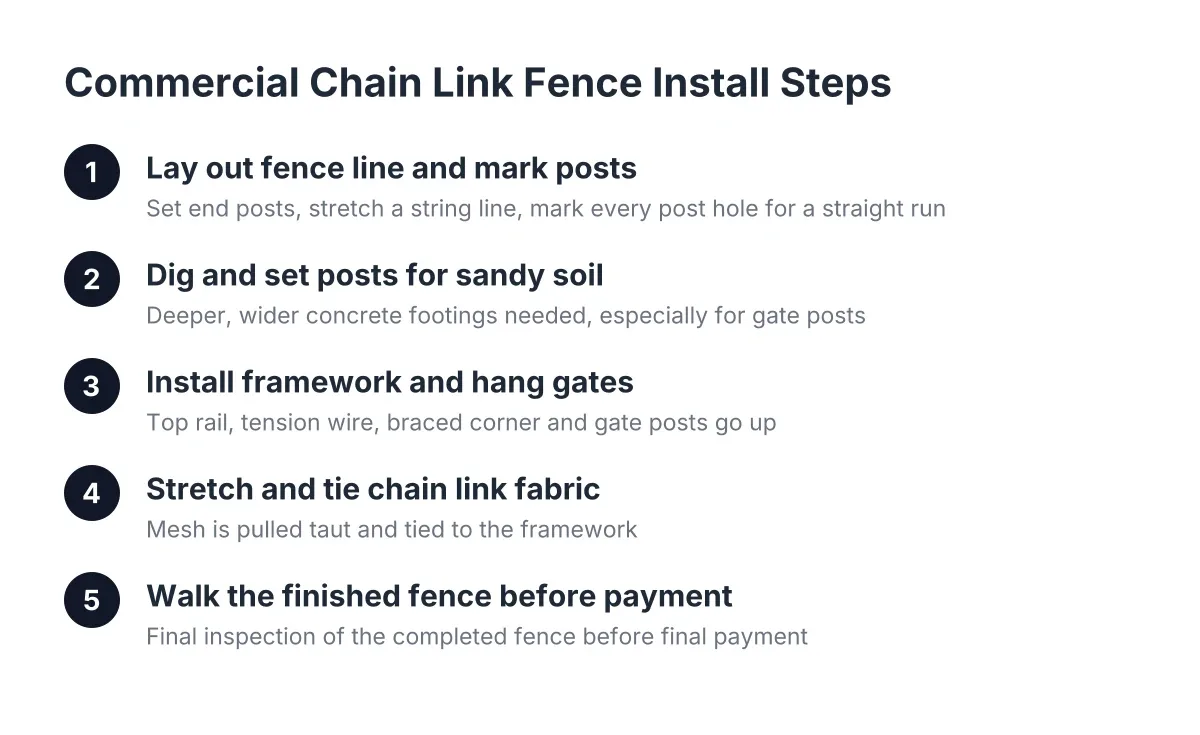
Step 3: Lay Out the Fence Line and Mark Post Locations
Now set your layout. Drive stakes at each corner and end, then pull a string line tight between them. Every post hole gets marked along that string, not eyeballed.
Mark three types of posts:
- Terminal posts, meaning corners, ends, and gate posts. These take the full pull of the stretched fabric.
- Line posts, spaced evenly between terminals.
- Gate posts, which need the largest footings on the job.
A chain link fence installation diagram helps here, and most hardware suppliers publish one. However, printed diagrams assume firm soil. Treat their post depth numbers as a starting point, not a finish line, because Ocala sand demands more below grade than a generic chain link fence installation guide PDF written for the national market.
Call 811 before digging. Utility locates are free and required.
Step 4: Dig Deeper Than the Standard Diagram Shows
Here is where Ocala installs diverge from the typical guide. In loose sandy soil, a post set to the minimum depth shown on a packaging diagram will move. Dig terminal and gate post holes deeper and wider than line post holes, because those posts resist the most force.
Two decision rules matter:
- Never just tamp dirt back around a post. Backfilling a hole with soil alone, with no concrete footing, is not an acceptable practice in this soil. It will fail.
- Bell the bottom of the hole where you can. A footing that is wider at the bottom than the top resists uplift and tipping far better in sand.
If a post keeps standing proud above your string line after you drive it down, that is the signal it is not deep enough. Dig more; do not trim the fence to match a bad footing.
Step 5: Set Posts in Concrete, and Finish the Footing Correctly
Set every post in concrete, plumb in both directions, with tops aligned to your string line. On sloped ground, a string across the post tops keeps the height above grade consistent even when the surface pitches, which is common along Ocala driveways.
One finishing detail decides how long the post lives. A common mistake is stopping the concrete a couple of inches below grade and topping the hole with dirt or sod. That traps moisture right where the post meets the ground, and with Ocala's humidity and summer rain, that contact point becomes the fence's most common failure spot. Instead, bring the concrete to grade and crown it so water sheds away from the steel.
Let footings cure fully before you hang anything. Gate posts especially need cured concrete before they carry a swinging load.
Step 6: Install the Top Rail, Tension Hardware, and Fabric
Once the footings cure, the job becomes assembly. Slide tension bands and brace bands onto terminal posts, cap the line posts, and run the top rail through the loop caps. On grade changes, you may need to backfill or set one side slightly different so the top rail runs clean despite the slope.
Then hang the chain link fabric:
- Stand the roll at one terminal post and weave a tension bar through the end of the mesh.
- Bolt the tension bar to the terminal post bands.
- Stretch the fabric toward the next terminal with a fence puller until the mesh gives slightly under hand pressure, then secure it.
- Tie the fabric to the top rail and line posts with fence ties, which come in different lengths to match the pipe diameter you are tying to.
For example, a tie sized for a line post will not wrap a larger terminal post correctly, so sort hardware before you start stretching. Where access allows, standing on the side of the post opposite the mesh makes tying faster and cleaner.
Step 7: Hang and Adjust the Fence Gate
Gates fail first in sandy soil, so give this step extra care. Mount hinges so the gate swings freely without binding, and set the latch to catch without lifting the gate.
If the fence encloses a pool, this is where inspections pass or fail. The gate must self-close from any open position and self-latch on its own, with the latch mounted per Florida pool barrier rules. Height alone does not make a pool safe; in a study reported by the National Institutes of Health, four-year-olds took a median of 17 seconds to climb a five-foot fence. The self-latching fence gate and a true four-sided barrier do the real safety work.
Suppose a family in a newer Ocala subdivision just finished a pool and fenced it with chain link on a tight timeline before summer. In that scenario, the most likely inspection flag is not the fence height; it is a gate that swings toward the pool or a latch mounted too low. Checking those two details before the inspector arrives saves a re-inspection trip.
Step 8: Choosing Between DIY and Professional Chain Link Fence Installation
Finally, be honest about the dividing line. The assembly steps, rails, ties, and fabric, are learnable from a chain link fence installation guide or video. The parts that go wrong in Ocala are the underground parts: post depth, footing size, concrete finishing, and gate post sizing in soil that gives nothing back.
Cost factors for professional installation here include total linear footage, fence height, number of terminal and gate posts, soil conditions at the footings, and whether old fencing needs removal. Metal fencing, including chain link, held a 47.2% share of the fencing market in 2025 according to Mordor Intelligence, partly because it stays the practical choice for full-perimeter runs on larger lots. For a new-build lot with no existing fence, a written estimate that specifies post depth and footing details is worth more than a low number that leaves those out.
One honest trade-off: chain link set correctly in sandy soil costs more in concrete and labor than the minimum install, and it is not the best-looking option immediately around a pool deck, where many homeowners prefer aluminum. If your fence doubles as a code-required pool barrier, have the layout and gate hardware reviewed by a professional before inspection; guessing wrong there means paying for the work twice.
Get the posts deep, the concrete to grade, and the gate hung right, and a chain link fence in Ocala will stay straight through the soil and the storms that take down the shortcut versions.
If you need chain link fence installation, Ocala Fence Builders can help.
Prefer to talk it through? Call (352) 670-3374 — a quick call is usually the fastest way to get a straight answer for your situation.